Introduction
A lot has been made of tubeless tyre technology in recent years and a deluge of products are available. The benefits are real but the set up can feel a bit alien to some riders. In this post we look at what goes in to help you make an informed decision.
The main benefits of running a tubeless set up:
|
Some downsides of tubeless vs a tyre & tube:
|
Part 1: Wheel Prep
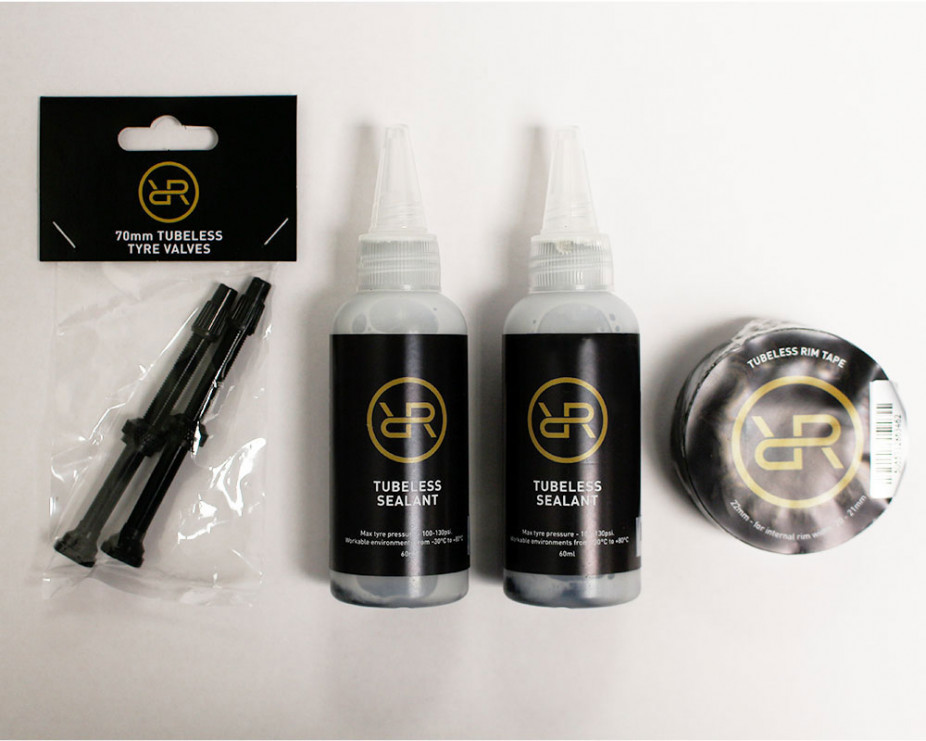
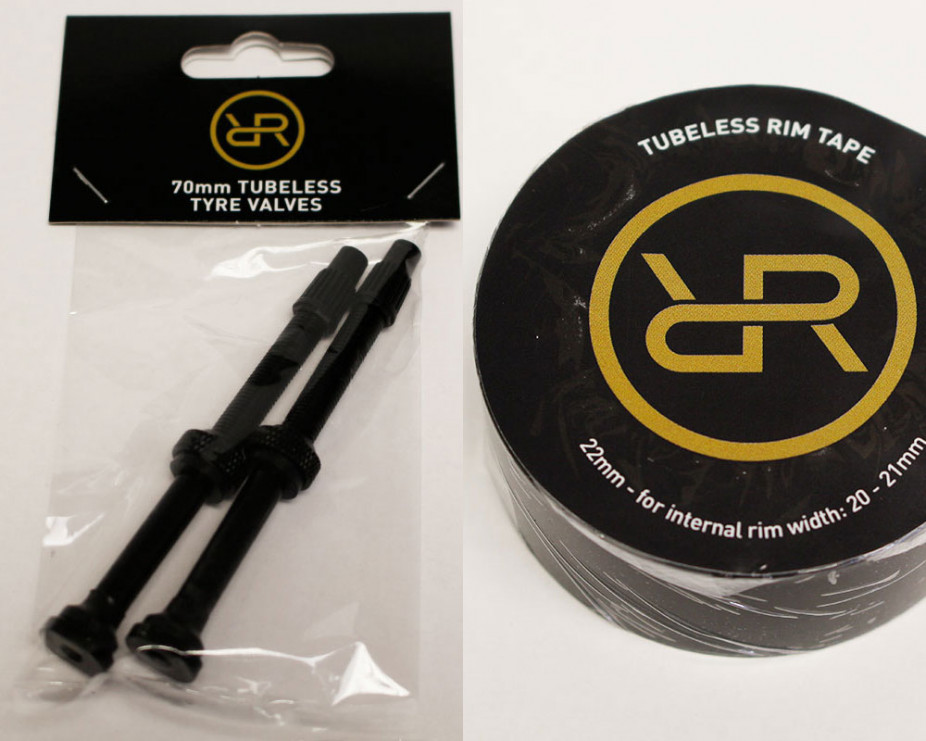
Most tubeless conversions start by covering spoke hole drillings on the rim bed. Tubeless rim tape uses material specifically designed to provide an adhesive airtight seal for the internal cross-section of the rim. You can skip this step if the rim bed isn't drilled or has tubeless ready tape pre-installed. Once installed pierce the tubeless tape, downwards from the rim bed, over each valve hole to allow for installation of the valves. Then hand tighten the valve stems using the retaining nut to bring the rubber seal on the opposite end into close contact with the rim bed. ORRO road tubeless kits are available in two valve length options of 60 and 70mm, to suit deep aero rim profiles of 40 and 55mm respectively.
Part 2: Seal the System
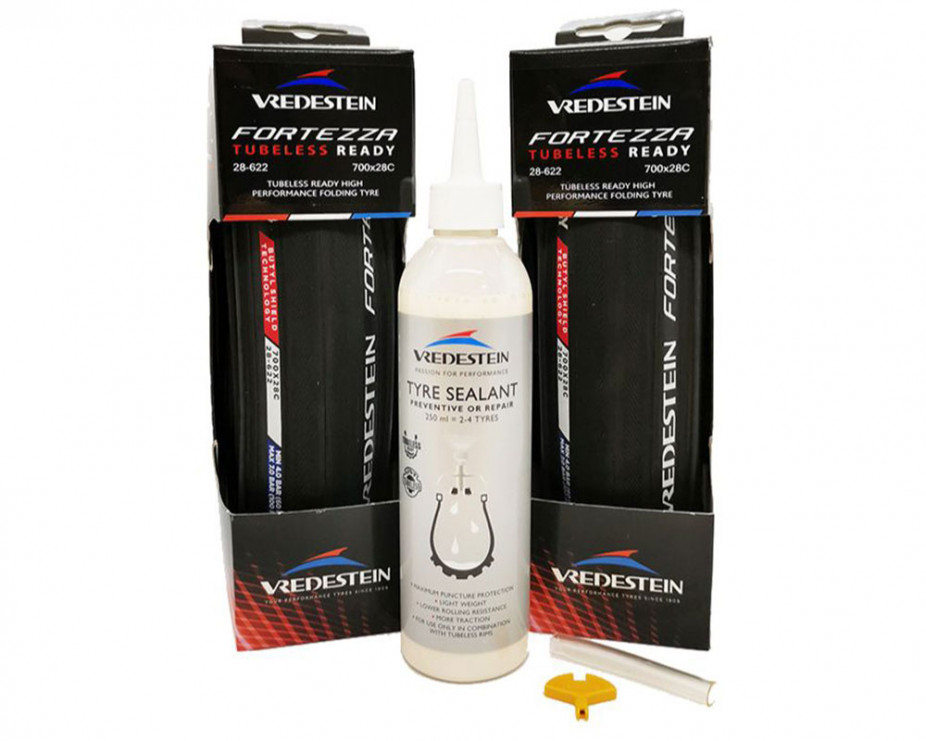
Once fitted the air tightness of each tyre should be checked by doing a quick dry inflation using a track pump or compressed air. This helps to eliminate any issues with loose valves or poorly applied tape and makes it easier to add the sealant in later. Sealant should always be added before riding to coat the inside of the tyre and provide self-healing puncture resistance, for holes up to 5mm in diameter. After inflation the tyre bead should be in place on the rim. The cleanest way to add the prescribed tyre width-based measurement of sealant is by removing the valve core and placing the bottle directly onto the valve. We recommend going for a brief ride after installation to disperse the sealant. If your road wheelset is already set up tubeless refresh it with the Vredestein Fortezza Tubeless Bundle.
Tubeless FAQ
Do ORRO Bikes Arrive Tubeless?
We dispatch all bikes with innertubes inside the tyres. Unless we receive prior instruction from our customer to set up tubeless, which we can do for free.
What Does 'Tubeless Ready' Mean?
Tubeless ready may be written on wheels and/or tyres to confirm they meet the requirements for use without tubes, of course tubes may also be used.
What Do I Need to Go Tubeless?
Most bikes we supply now come with tubeless ready wheels and tyres. The other parts required include tubeless rim tape, valves, and sealant.
How Often Does the Sealant Need To Be Replaced?
While there is no specific time scale it is recommended that the sealant is refreshed at least every 6 months and topped up after a few punctures.
What If the Tubeless Setup Fails?
Tubeless sealant should block holes up to 5mm, for larger holes a tubeless plug kit can be used. The last resort is to remove the valve and insert in a tube.